Download operating system
for your personal computer.
Windows 95 (1995) All OSR Release Free Download ISO Disc Image Files
Old Version
- OS Version: Versions before Windows NT
- OS Variant: Microsoft Windows
- OS Family: Windows
- Developers: Microsoft
Description
Windows 95 was released on August 15, 1995, and it was the first operating system in the Windows family that was called full OS software (compared to previous versions), which does not run as an extension of MS-DOS software. The GUI is almost entirely new in the Windows 95, some remarkable component of the Windows operating system that we use today such as taskbar, start menu, Windows Explorer, notification area, etc., are introdocued in Windows 95, which so far remained unchanged in all future versions of Windows.
Windows 95 Support Plug and Play for smooth installation of hadware devices, 32-bit applications, preemptive multitasking.
Microsoft has released several versions of Windows 95, the first original release with codenamed 'Chicago' was released on August 15, 1995, then the service pack and OEM are released. I recommend you OEM Service Release (OSR) 2.5 because it includes more features and bug fixes.
Specification
| Available in | English, Dutch, German, Japanese, Russian, Swedish, and 6 more |
| CPU Platform(s) | IA-32 |
| License | Commercial |
System requirements
Minimum for OSR 2.5:
- Intel 80386DX processor or higher.
- 12 MB RAM.
- 700 MB hard disk space.
Installation Instructions for VirtualBox
- Make sure you've downloaded the files 'Windows_95 _OSR_2.5_VM_Eng.ova' and 'Windows_95 _OSR_2_Boot.7z'.
- Create a new folder on the desktop and move both files in it.
- Extract the 'Windows_95 _OSR_2_Boot.7z' file and get the 'Boot.img' file.
- Install and open the VirtualBox app on your computer.
- Go to the File menu and select the 'Import Appliance' option.
- Select the file 'Windows_95 _OSR_2.5_VM_Eng.ova' which you have downloaded in the first step.
- Wait while VirtualBox is importing and creating a new virtual machine.
- Right-click on your virtual machine and select Settings.
- Go to Storage, and under Controller: Floppy, replace the Boot.img with your own Boot.img which you have extracted in step 3.
- Save the settings and start the virtual machine.
- Press Enter with Option 1 on the Windows 95 Startup menu screen.
- In the command line, type
C:and press enter. - Then type
CD INSTALLand press Enter. - Then type
SETUPand press Enter twice. - The ScanDisk program completes the disk check, go to the exit and press enter.
- Follow the Windows 95 Setup Wizard with your prefred options.
- Choose 'C: \ Windows' as the installation directory.
- Setup type 'Typical'.
- Type your Certificate of Authenticity key. (This license key is not available here, please find it on the web, many keys are available for free)
- Do not create a startup disk.
- Follow and install on-screen instructions.
- When this is done and asks you to restart, go to the Virtualbox menu> Devices> Floppy Drives and remove the Boot.img from the virtual drive.
- Press OK now and restart your virtual machine.
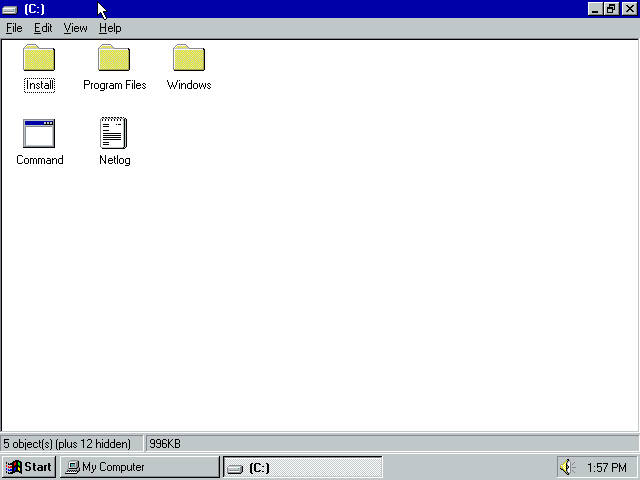
Screenshots