Download operating system
for your personal computer.
Android-x86 6.0-r3 (April 2017) based on Android 6.0 Marshmallow free download
Old Version
- OS Version: Android-x86
- OS Distribution: Android-x86
- OS Family: Linux
- Developers: Android-x86 Project Developers
Description
Android-x86 version 6.0 was released on August 15, 2016, based on Android 6.0 Marshmallow. It was preceded by version 5.1 and was available to install 32-bit (x86) and 64-bit (x86-64) versions.
Release R3 (Release 3, April 2017)
Android-X86 6.0-r3 is the third stable release publicly available on April 24, 2017. It was based on the Android Marshmallow-MR2 release 6.0.1_r79. Comparing to the previous Android-X86 release, R3 includes some new features and updates such as updated kernel 4.4.62, update Mesa to 17.0.4, CD / DVD auto-mount, fix VMware broken, a Qemu-Android script to launch Android-X86 in QEMU, etc.
Release R2 (Release 2, January 2017)
Android-X86 6.0-r2 is the second stable release publicly available on January 13, 2017. It was based on the Android Marshmallow-MR2 release 6.0.1_r74. Comparing to the previous Android-X86 release, R2 includes some new features and updates such as updated kernel 4.4.40, update Mesa to 13.0.3, etc.
Release R1 (Release 1, September 2016)
Android-X86 6.0-r1 is the first stable release publicly available on September 13, 2016. It was based on the Android Marshmallow-MR2 release 6.0.1_r66. Comparing to the previous Android-X86 release, R1 includes some new features and updates such as updated kernel 4.4.20, update Mesa to 12.0.2, add F2FS support, change trackpad cursor from circle to normal mouse pointer, improve suspend / resume issues caused by WIFI drivers, etc.
Release RC2 (Release Candidate 2, August 2016)
Android-X86 6.0-rc2 is the second release candidate publicly available on August 15, 2016. It was based on the Android Marshmallow-MR2 release 6.0.1_r61. Comparing to the previous Android-X86 release, RC2 includes some new features and updates such as updated kernel 4.4.17 with more upstream patches, update Mesa to 12.0.1, fix software rendering crash on VMs, etc.
Release RC1 (Release Candidate 1, August 2016)
Android-X86 6.0-rc1 is the first release candidate publicly available on August 15, 2016. It was based on the Android Nougat-MR2 release 6.0.1_r46. Comparing to the previous Android-X86 release, RC1 includes some new features and updates such as updated kernel 4.4.12, support OpenGL ES 3.x hardware acceleration for Intel / AMD / Nvidia chipsets, OpenGL ES 3.0 via software rendering to other GPUs or no GPU, Secure booting from UEFI and install on UEFI disk, ext4 / ntfs / fat32 file systems, etc.
General information from Android-x86
Android-x86 is an free and open source Android operating system based on AOSP (Android Open Source Project), which aims to enable Android to run on x86 CPU architecture devices, such as PCs and netbooks powered by Intel or AMD processors.
Like other Linux distros, Android X86 can be run on live mode without the need for installation.
Android-x86 helps to run the latest Android version on PC.
Specification
| Available in | 74+ languages |
| CPU Platform(s) | x86 (32-bit, 64-bit) |
| License | Apache License 2.0 |
System requirements
Minimum:
- X86 32-bit processor.
- 1.2 GB of RAM.
- 3 GB of free disk space.
Installation Instructions
Starting installer in PC (via USB)
Follow the steps given below:
- Download the Android-x86 6.0 ISO image file from the download section.
- Install a USB bootable creation software (such as Rufus) on your Windows PC.
- Plug in a USB flash drive (at least 4-8 GB of space) with your PC.
- Open the USB bootable creation software, and select the ISO image file of Android-x86 6.0, and start the process.
- As soon as done, plug the bootable USB into a system where you want to install Android-x86 6.0.
- Restart the target computer.
- Press the boot device menu key and select USB to boot first.
- Select USB device and start the Android-x86 6.0 installer.
Starting installer in VirtualBox
- Download the Android-x86 6.0 ISO image file from the download section.
- Launch the Virtualbox application on your computer, and start creating a new virtual machine.
- Select type 'Linux' and version 'Linux 2.6 / 3.x / 4.x (64-bit)' for the virtual machine.
- Start VM and when it asks to select the Host Drive, then select the downloaded Android-x86 6.0 image file in step 1.
Last step
As soon as you get to the Android-X86 installation screen, follow the steps below:
Note - Before installing on your device, you can go with the Live CD option in the installation screen to test it. Otherwise follow the steps below to install.
Note - If you are installing on a PC (not a VM) then the steps below remove all other data from your disk. If you want to keep your data, you must first create a free space partition and skip step 4 / 5 below. Also make sure that your existing partition file system format matches with the file system format that you select in step 15.
- Go to installation and enter.
- On the Partition Selection screen, select 'Create / Modify Partitions'.
- Ask not to use GPT.
- Now use your keyboard in the black screen, and remove all existing partitions.
- Once you have a single 'Free Space' partition, its time to create partitions for Android X86.
- Highlight the Free Space partition, and select 'New'.
- This partition type must be 'Primary' with 100MB of space.
- Highlight your new 100MB partition and choose 'Bootable' and press Enter.
- Then select 'Write', type 'yes' and press Enter.
- Again, highlight the Free Space partition, and select 'New'.
- This partition type must be 'Logical' with all remaining space (just press enter).
- Highlight your new logical partition, select 'Write', type 'yes' and press Enter.
- Notice the Logical partition name, and choose 'Quit'.
- On the partition selection screen, select the Logical partition and press Enter.
- Select the file system format (I go with ext4), and select Yes to format the partition.
- Select Yes to install the grub boot loader.
- Select Yes to format the partition.
- Wait while your installation is complete.
VirtualBox no GUI problem - If you are currently running Android X86 in VirtualBox and cannot see the graphical interface (stuck on the command line), you should navigate to VM Settings> Display> Graphics Controller and switch it to 'VBoxSVGA'.
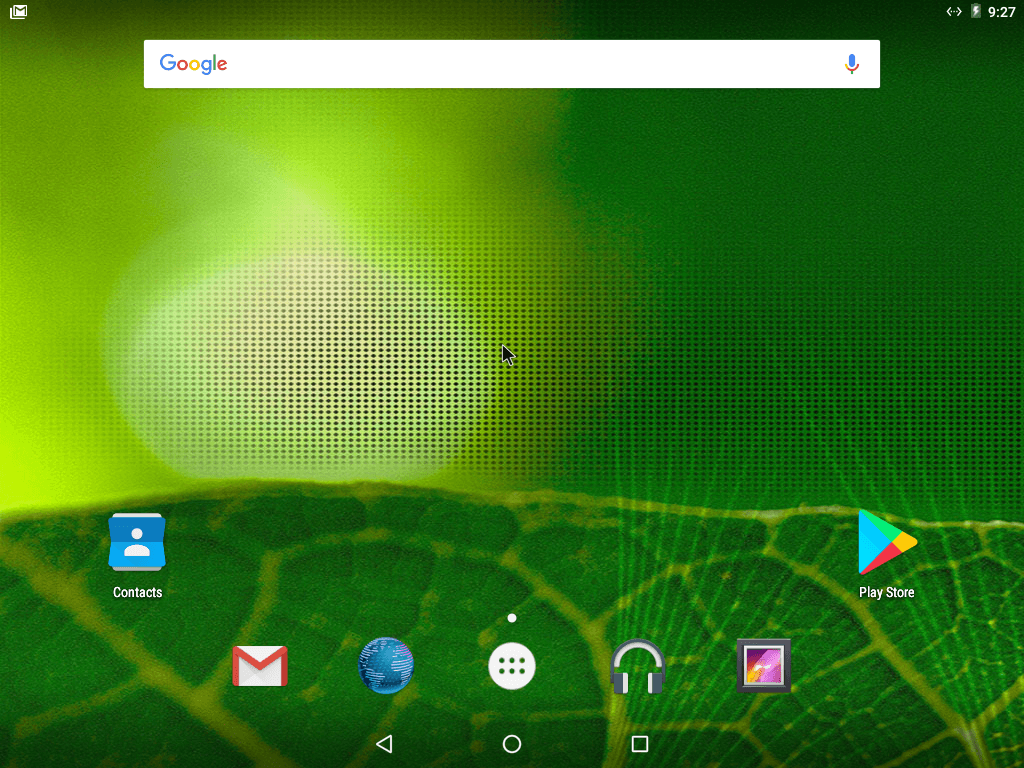
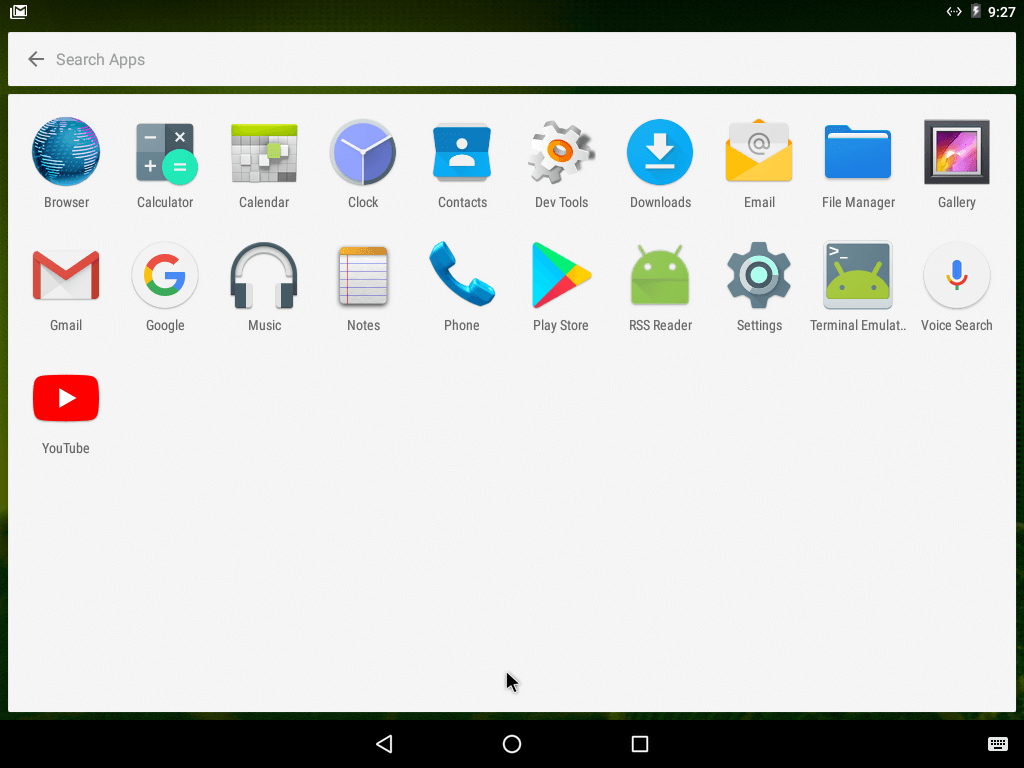
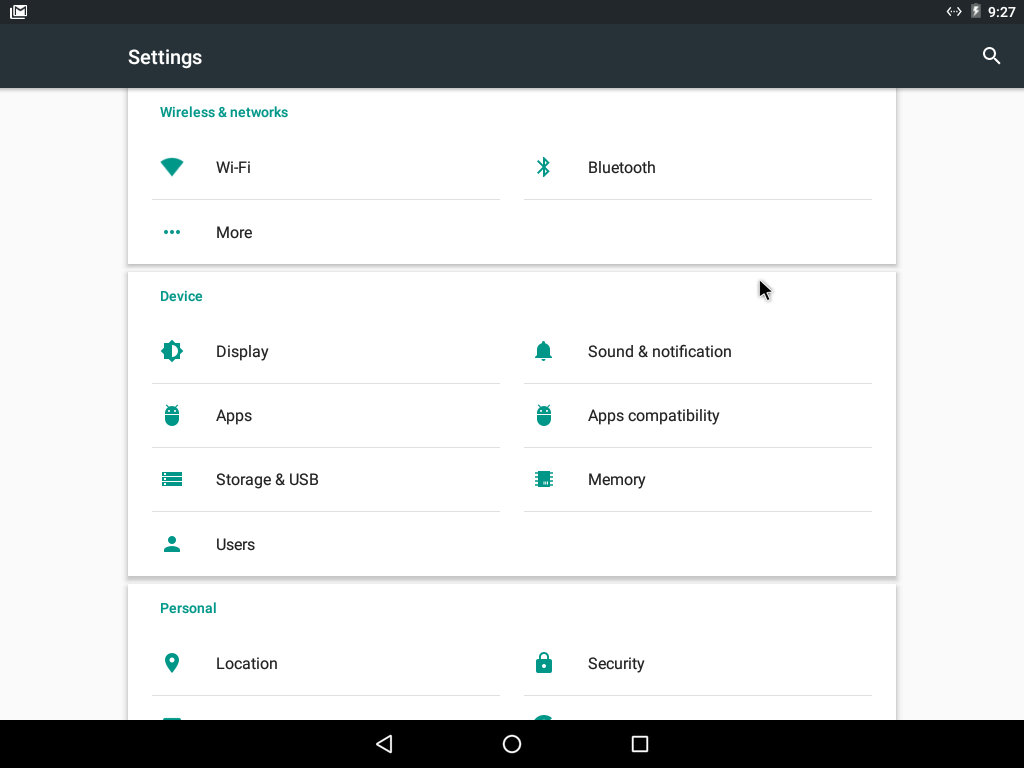
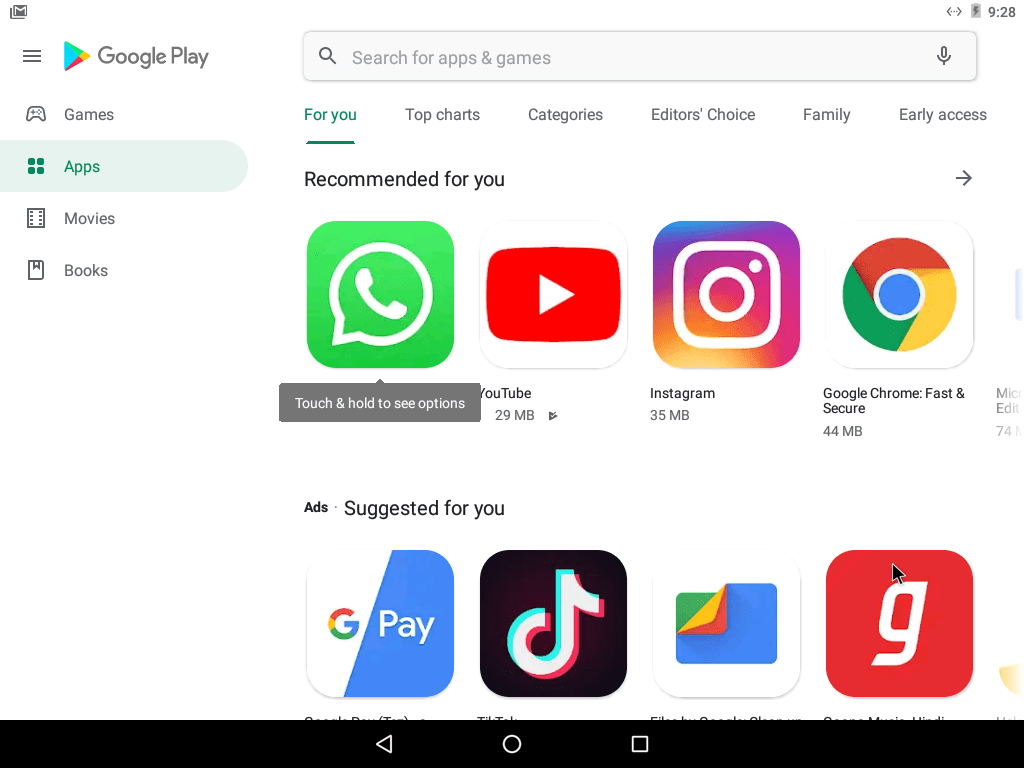
Screenshots